In this tutorial, you will learn the easiest and fastest way to install Kali Linux 2026.2 in Oracle VirtualBox using a pre-built virtual machine. This method saves time because you do not need to perform a fresh operating system installation using an ISO image.
Usually, Kali Linux is installed in VirtualBox using an ISO file. If you prefer that method, read our guide: How to Install Kali Linux 2026.2 in VirtualBox.
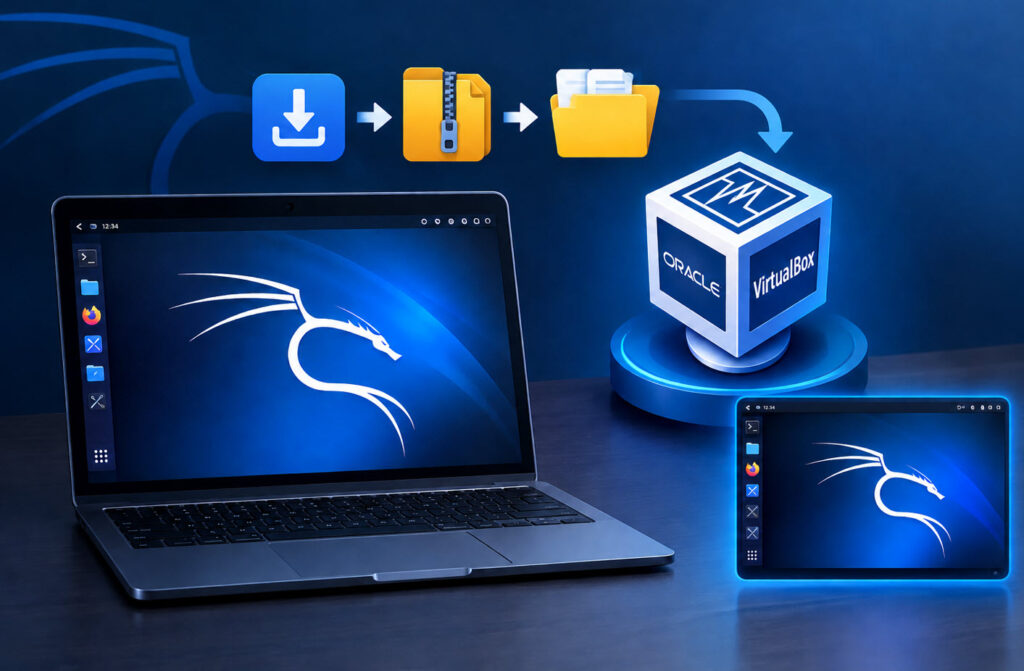
Here, we will download the official pre-built Kali Linux VirtualBox image, extract it, import it into VirtualBox, and start the virtual machine.
Prerequisites
- Oracle VirtualBox must already be installed on your computer.
- A stable internet connection to download the virtual machine.
- Sufficient disk space and RAM to run Kali Linux.
Step 1: Download the Pre-Built Kali Linux VM
First, visit the official Kali Linux website: https://www.kali.org/
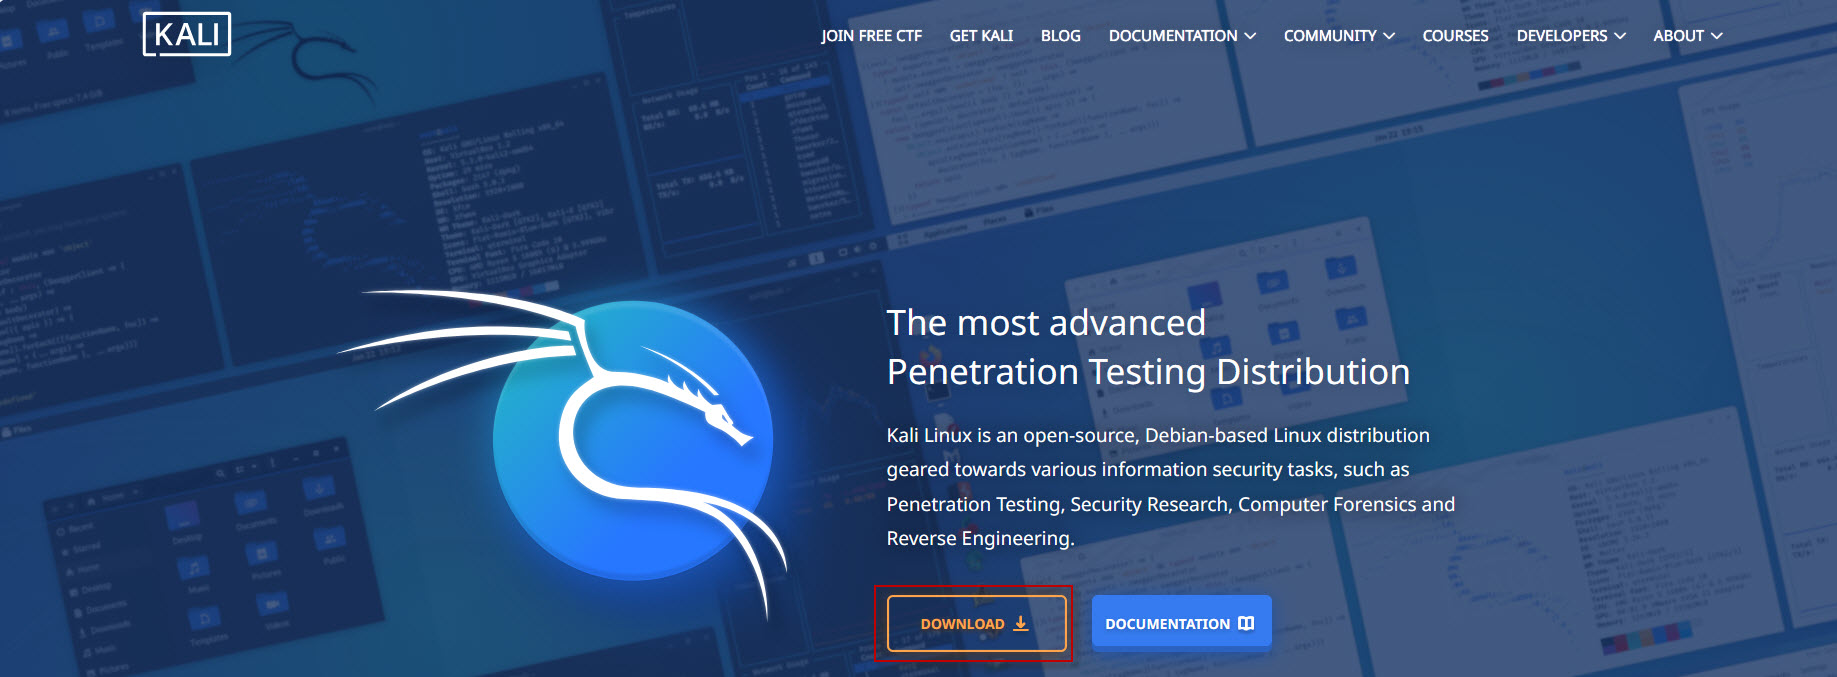
Navigate to the Kali Linux Virtual Machines download page.
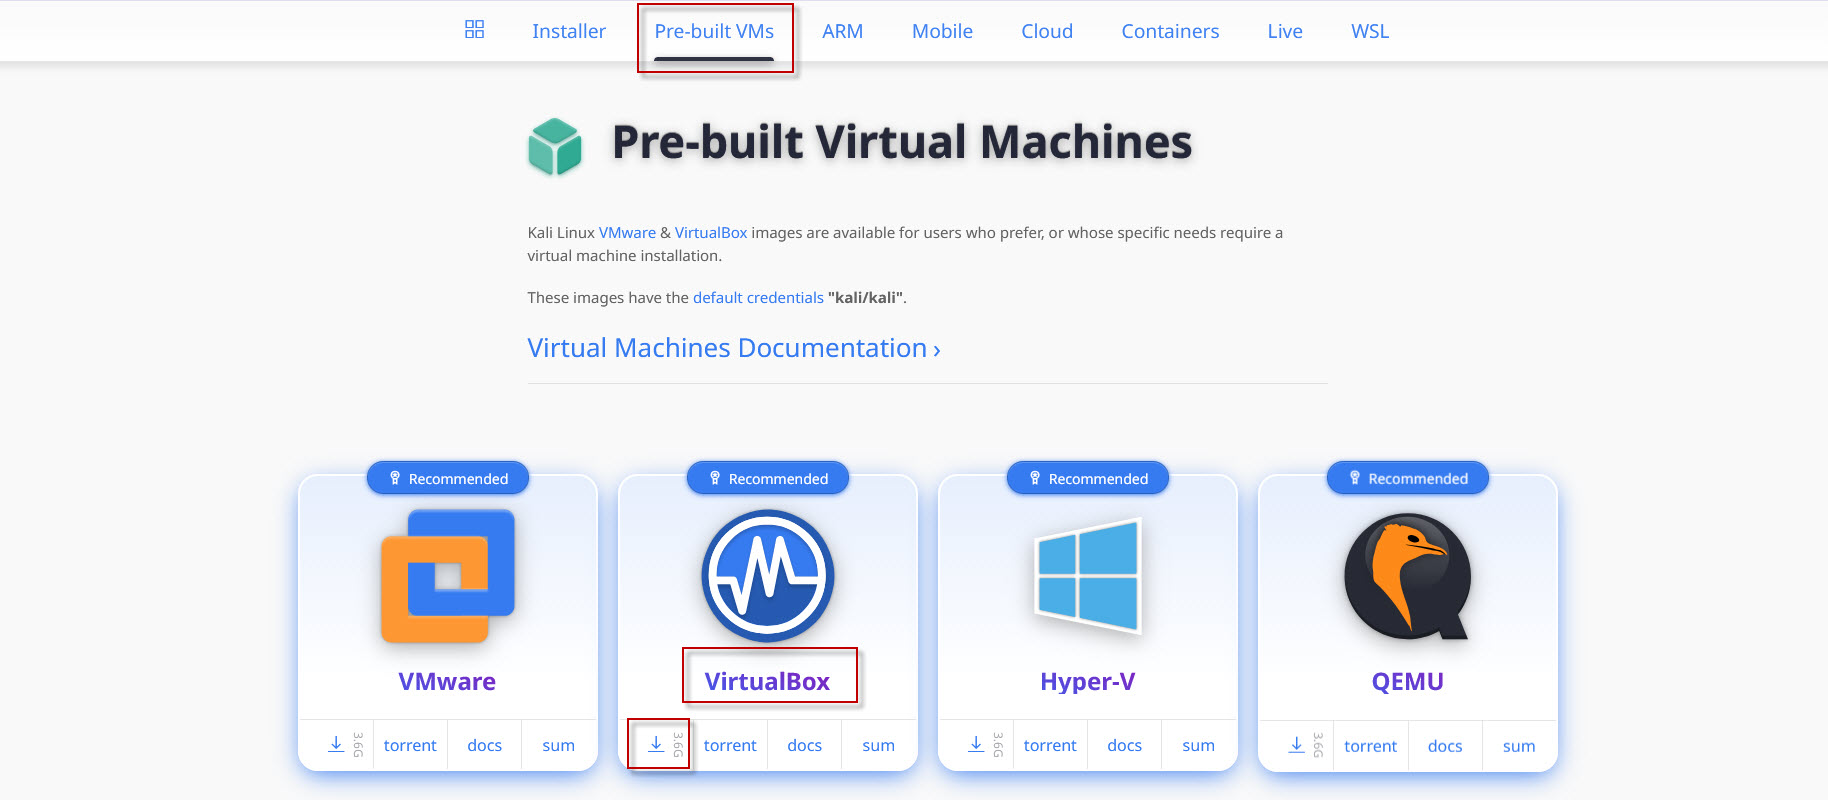
You will find pre-built virtual machine images for platforms such as VirtualBox and VMware.
Click the VirtualBox download option to download the Kali Linux 2026.2 image compatible with VirtualBox.
The download is approximately 3.7 GB, although the exact size may vary. The download time depends on your internet speed.
The downloaded file is provided in a compressed archive format, such as .7z, which must be extracted before importing the virtual machine.
Step 2: Extract the Downloaded File
After the download is complete, locate the compressed Kali Linux virtual machine file on your computer.
Use a compatible archive extraction tool, such as 7-Zip, to extract the downloaded file into a folder.
Once the extraction is complete, open the folder and locate the Kali Linux VirtualBox machine files. The virtual machine image may include files such as .vbox and .vdi.
Keep the extracted files together in the same folder.
Step 3: Import Kali Linux into VirtualBox
Open Oracle VirtualBox Manager.
Click the Add option and browse to the folder where you extracted the Kali Linux virtual machine files.

Select the virtual machine configuration file, such as kali-linux-2026.2-virtualbox-amd64.vbox, and add it to VirtualBox.
The Kali Linux virtual machine should now appear in the VirtualBox Manager.
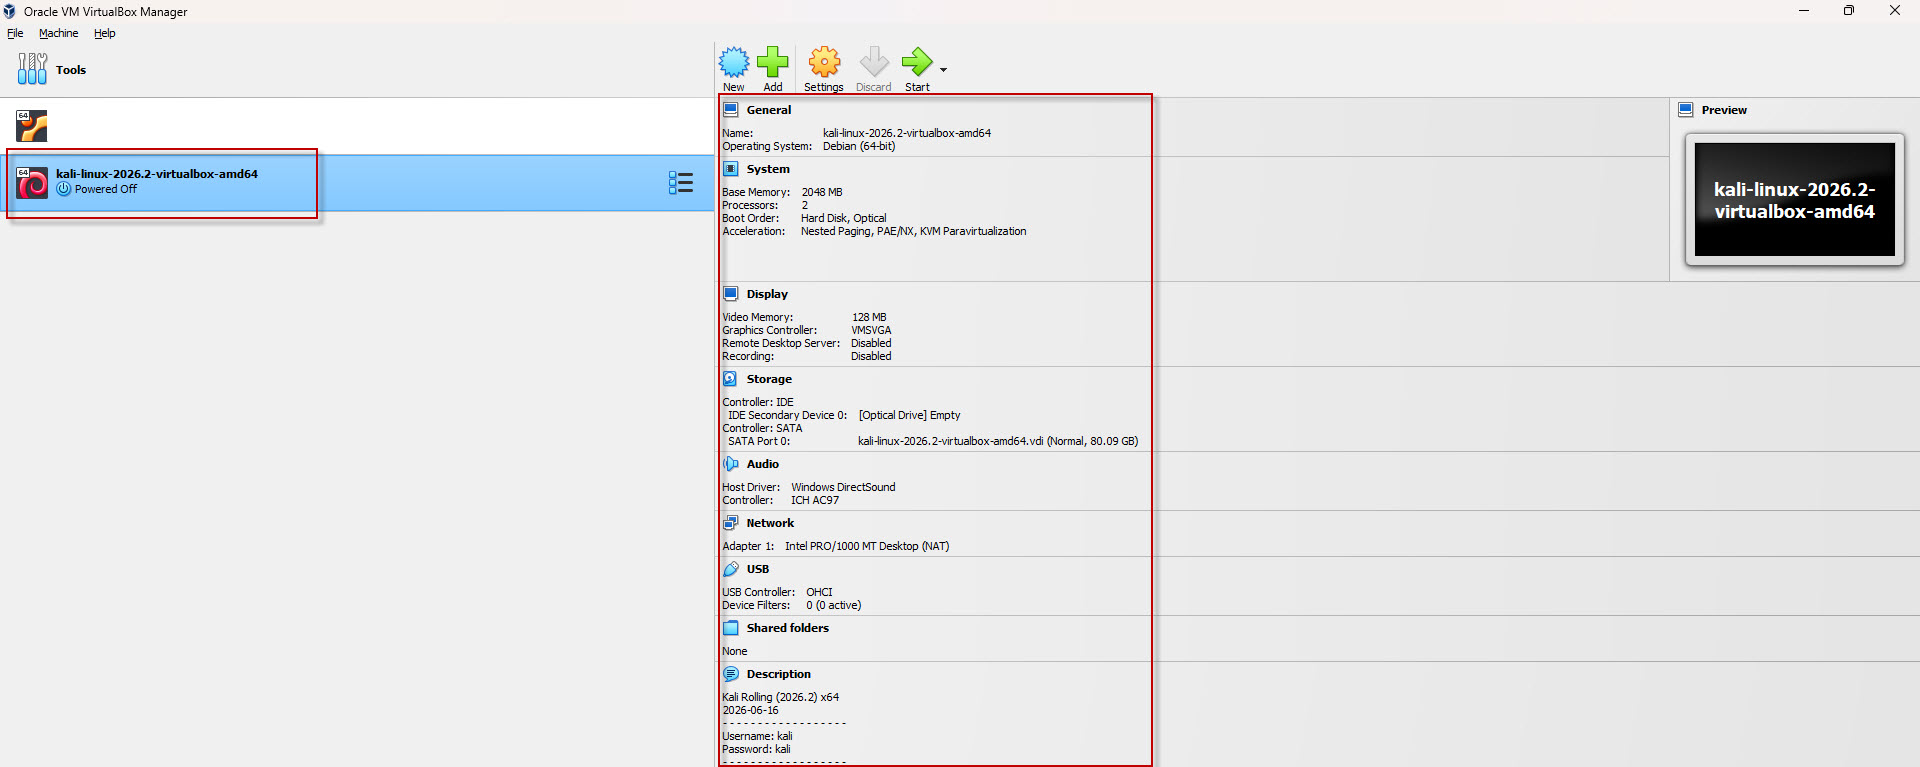
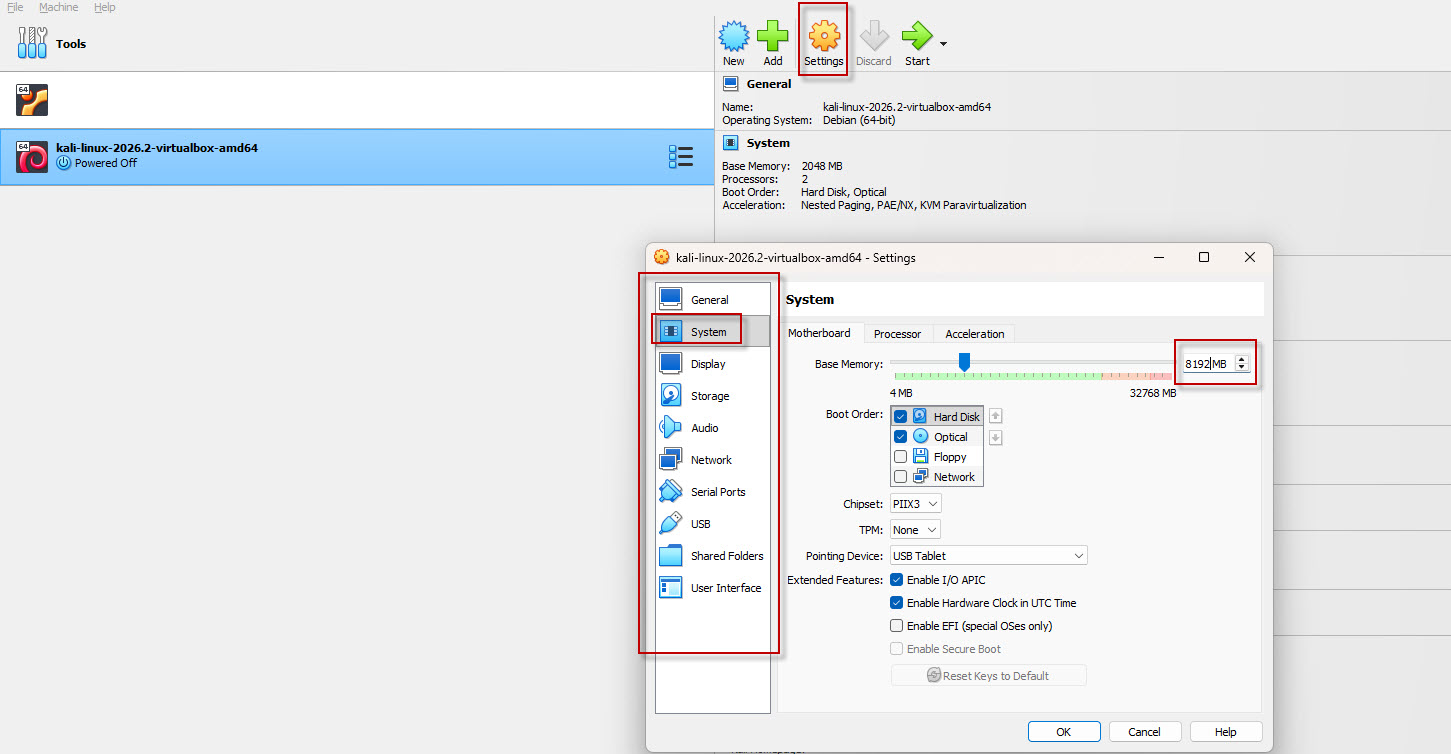
Before starting the machine, you can adjust its hardware configuration according to your computer’s available resources.
For example, you can increase the allocated RAM to 8 GB (8192 MB), provided your host computer has sufficient memory available. You can also review the processor allocation and other virtual machine settings.
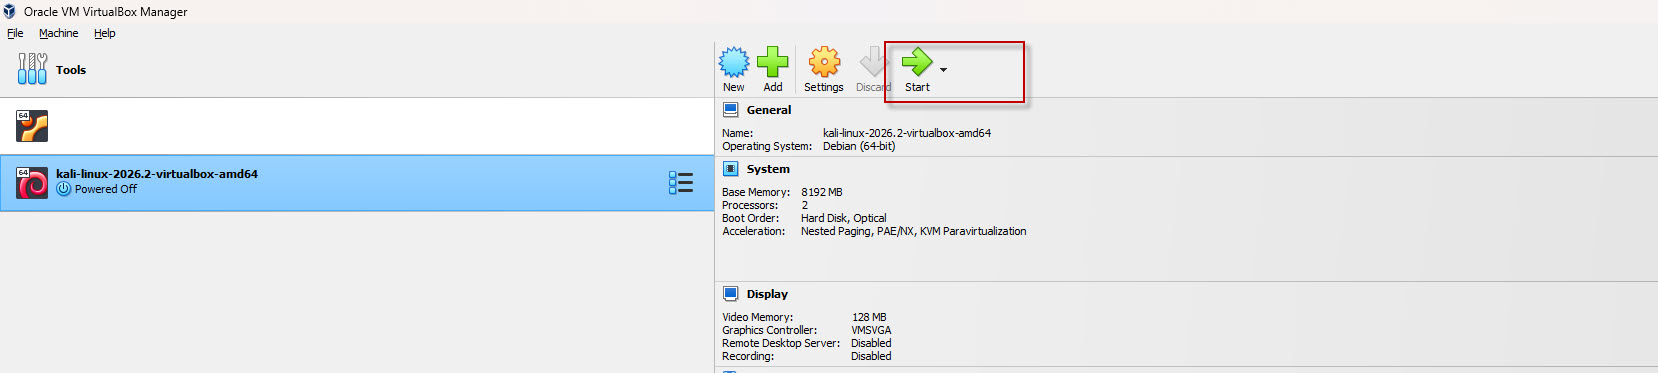
Once the configuration is complete, select the Kali Linux virtual machine and click Start.
Step 4: Log In to Kali Linux
Wait for the virtual machine to boot. When the login screen appears, enter the default credentials supplied with the pre-built image.
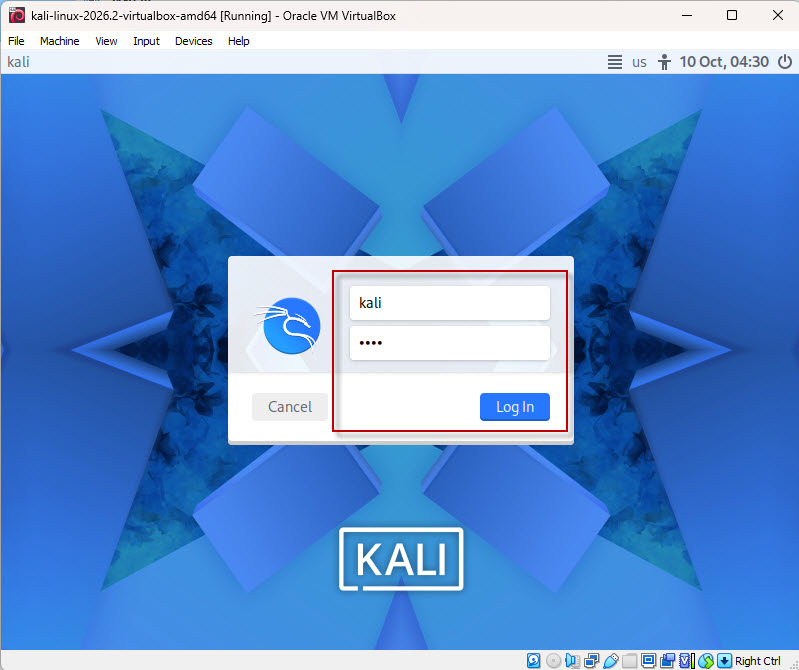
For the official pre-built image described in this tutorial, the default credentials are:
- Username: kali
- Password: kali
Click the login button to access the Kali Linux desktop.
If these credentials do not work, check the instructions provided with the downloaded image, as credentials may vary between images or releases.
Step 5: Start Using Kali Linux
After logging in successfully, you can open the terminal and start using Kali Linux.
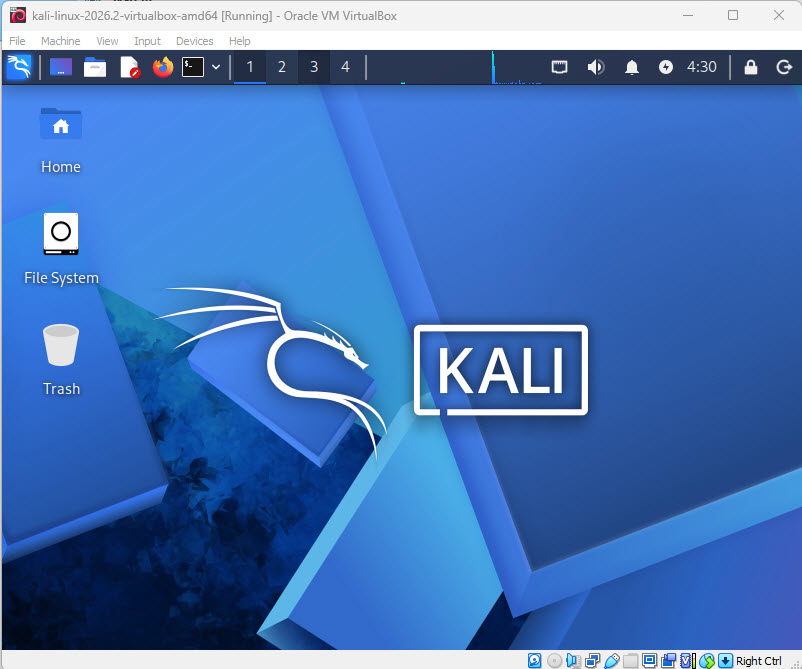
You can use the pre-built virtual machine for cybersecurity learning, penetration testing labs, web application security testing, and exploring the security tools included with Kali Linux.
Always perform security testing only on systems you own or have explicit permission to test.
Conclusion
Installing Kali Linux 2026.2 in VirtualBox using a pre-built virtual machine is a quick and convenient alternative to installing the operating system from an ISO file.
You only need to download the official VirtualBox image, extract the archive, add the virtual machine to VirtualBox, adjust the hardware settings if necessary, and log in using the supplied credentials.
This approach is ideal for beginners who want to start exploring Kali Linux without going through the complete operating system installation process.