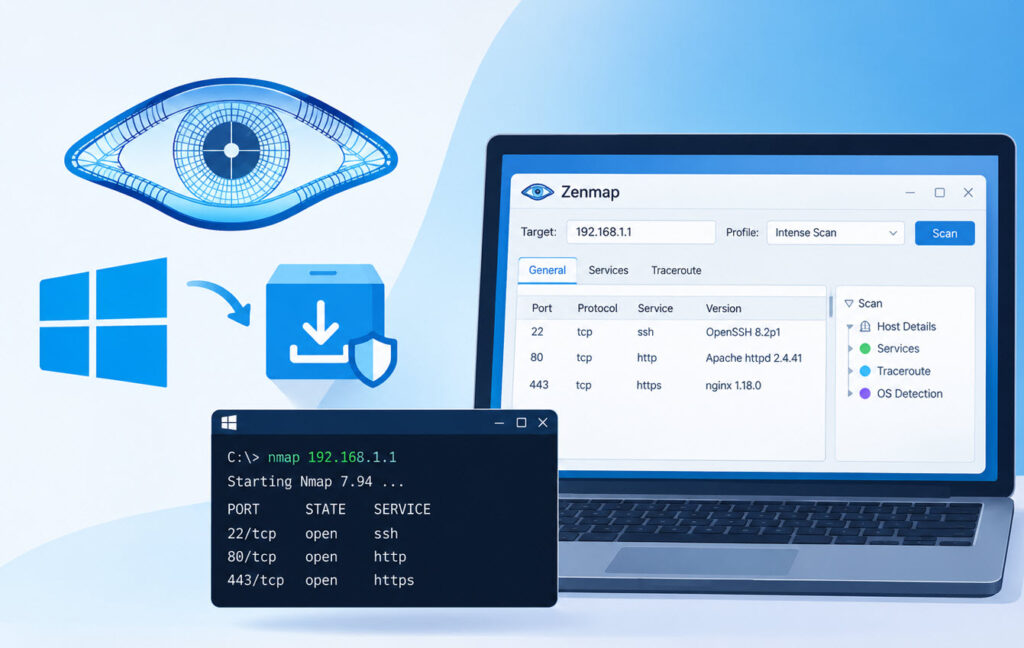
Nmap (Network Mapper) is a free and open-source network scanning tool widely used by cybersecurity professionals, penetration testers, and network administrators. It can scan hosts and ports, identify available services and their versions, and perform several types of network discovery and security testing. Nmap can be used from the Windows Command Prompt, while Zenmap provides a graphical user interface (GUI) for users who prefer a visual way to configure and run Nmap scans.
In this tutorial, you will learn how to install Nmap and Zenmap on Windows and perform a basic port scan using both Zenmap and the Windows Command Prompt.
Note: Only scan systems and IP addresses that you own or have explicit permission to test.
What Are Nmap and Zenmap?
Nmap is a command-line network scanning utility used to discover hosts, identify open ports, enumerate services and versions, and gather other network information.
Zenmap is the graphical interface for Nmap. It allows you to select scan profiles and view scan results through a GUI instead of entering Nmap commands manually.
Step 1: Download Nmap for Windows
First, visit the official Nmap website: https://nmap.org/
Click the Download option from the website’s navigation menu to open the Nmap download page.
The download page provides installation options for different operating systems, including Windows, Linux, and macOS.
Select the Windows download option.

Download the latest stable Windows installer (.exe) available on the official Nmap website. Save the installer to your preferred location, such as the Windows Downloads folder.
Once the download is complete, you can proceed with the installation.
Step 2: Start the Nmap Installation
Open the folder containing the downloaded Nmap installer.
Double-click the Nmap setup .exe file to start the installation.
Windows may display a security prompt asking: “Do you want to allow this app to make changes to your device?”
Click Yes to continue.
Step 3: Accept the License Agreement
The Nmap installer will display the license agreement.
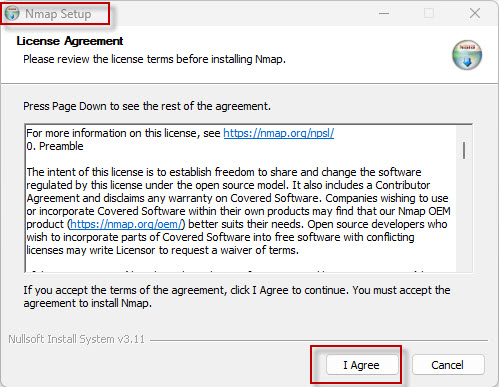
Read the agreement and click I Agree to continue with the installation.
Step 4: Select Nmap Components
The installer will now display the components available for installation.
The default selection includes the required Nmap components and, where offered by the installer, Zenmap.
Keep the default selections unless you have a specific reason to change them.
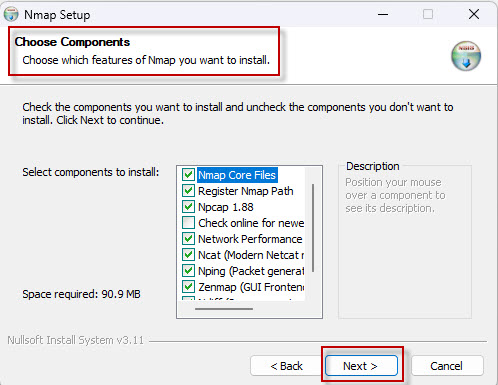
Click Next to continue.
Step 5: Select the Installation Location
The installer will ask you to select the folder where Nmap should be installed.
You can keep the default installation location or choose a different folder according to your requirements.
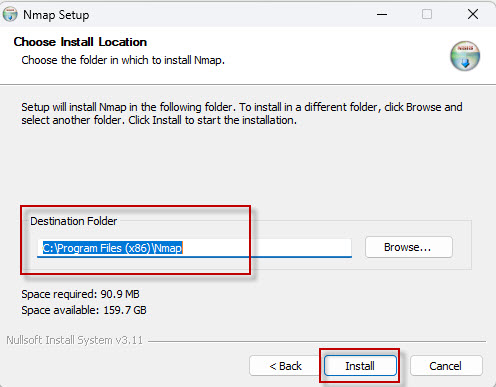
Click Install to start the installation.
The installation should complete within a short time.
Step 6: Complete the Installation
After the required files have been installed, the installer will display the completion screen.
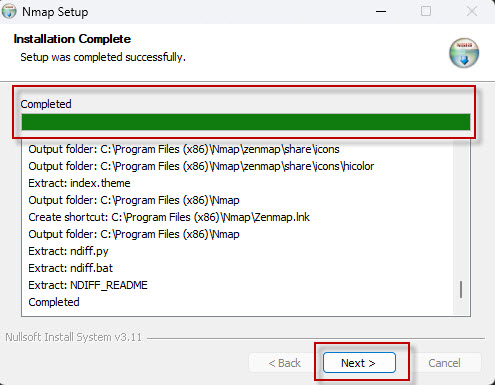
Click Next if prompted and continue with the default options.
The installer may also provide options for creating shortcuts for Nmap.
Keep the default settings if you want Windows shortcuts to be created.
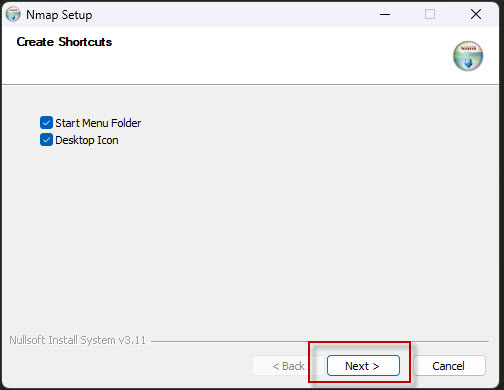
Click Next and then select Finish to close the installer.
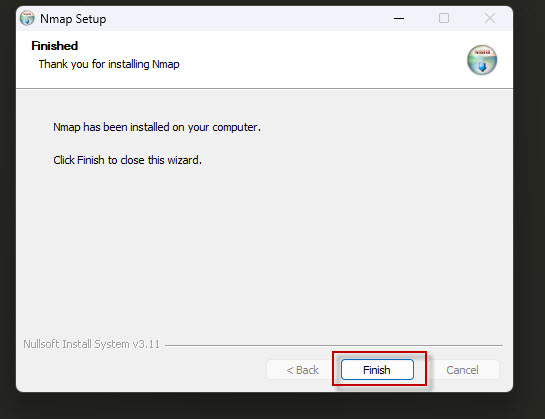
Nmap is now installed on your Windows system.
Step 7: Open Zenmap on Windows
After installation, you can open Zenmap from the Windows Start menu.
Click the Windows search box and type: Zenmap
Select Zenmap from the search results to launch the application.

Zenmap provides a graphical interface for configuring and running Nmap scans.
Step 8: Perform a Basic Port Scan Using Zenmap
Once Zenmap opens, you will see a Target field where you can enter the IP address or hostname you want to scan.
For example: 192.168.1.9
Zenmap provides different scan profiles that can be selected from the Profile drop-down menu.
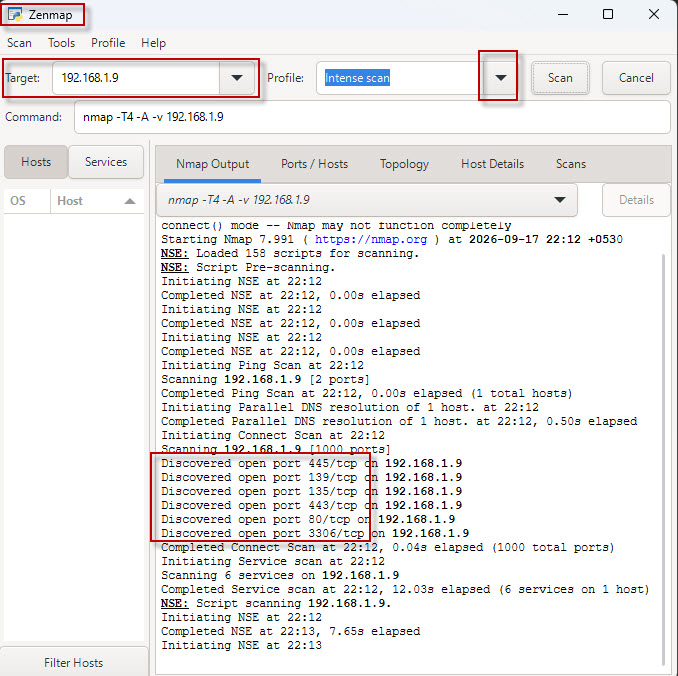
For a basic test, you can select an appropriate scan profile and click the Scan button.
Zenmap will run Nmap in the background and display the scan results in the application.
The results can include information such as:
- Open ports
- Detected services
- Service versions
- Host information
- Scan details
The exact results depend on the target and the selected scan options.
Step 9: Run Nmap from Windows Command Prompt
Nmap can also be used directly from the Windows Command Prompt.
Open Command Prompt and type: nmap
Press Enter.

If Nmap is installed correctly and available in the system path, the command should display Nmap information and available options.
You can now run Nmap scans directly from the command line.
Step 10: Perform a Basic Nmap Port Scan
To perform a basic port scan against an authorized target, use:
nmap <IP>For example:
nmap 192.168.1.9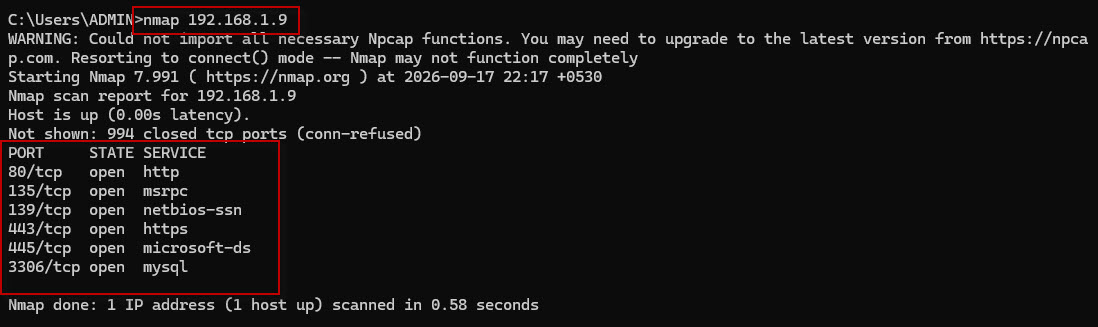
Nmap will scan the target and display information about the ports it detects.
The actual results will depend on the services running on the target system.
The PORT column shows the port number and protocol, the STATE column indicates whether the port was detected as open or otherwise, and the SERVICE column provides Nmap’s identification of the associated service.
Conclusion
In this tutorial, you learned how to install Nmap and Zenmap on Windows. The process involves downloading the official Windows installer, selecting the required components, choosing the installation location, and completing the setup.
Nmap provides many additional capabilities for network discovery, service enumeration, version detection, and security testing, making it an important tool for learning network security and penetration testing.