MongoDB is a powerful NoSQL database that offers high performance, high availability, and easy scalability. If you’re running Ubuntu 22.04.5 LTS (Jammy Jellyfish) on your desktop and want to install MongoDB 8.0 Community Edition, you’re in the right place. This guide provides a detailed, step-by-step approach to installing MongoDB 8.0, ensuring that it runs smoothly on your system.
Prerequisites
Before diving into the installation, make sure your system meets the following requirements:
- A 64-bit version of Ubuntu 22.04 LTS (Jammy), 24.04 (Noble), or 20.04 (Focal)
- A terminal with sudo privileges
- An active internet connection
Step 1: Check Ubuntu Version
To ensure compatibility, MongoDB 8.0 supports only 64-bit versions of Ubuntu 20.04 LTS and above. Run the command below to check your current Ubuntu version:
cat /etc/lsb-release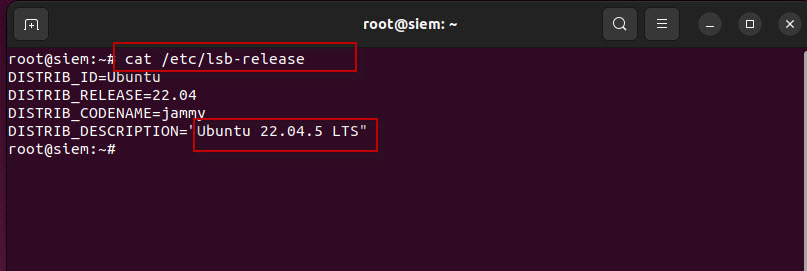
This will output something like:
DISTRIB_ID=Ubuntu
DISTRIB_RELEASE=22.04
DISTRIB_CODENAME=jammy
DISTRIB_DESCRIPTION="Ubuntu 22.04.5 LTS"
Here, we are using Ubuntu 22.04.5 LTS, which is fully supported by MongoDB 8.0.
Step 2: Import MongoDB Public Key
First, ensure that the required tools (gnupg and curl) are installed. If not, you can install them using:
sudo apt-get install gnupg curl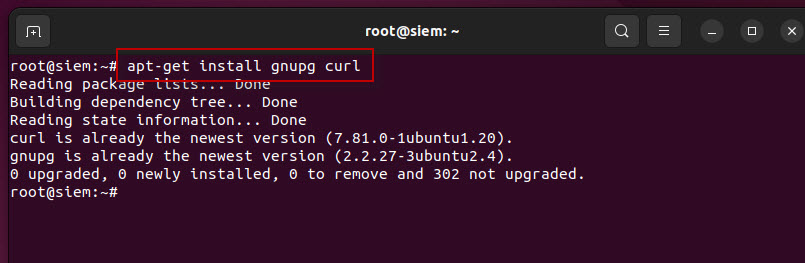
Then, import MongoDB’s GPG key to authenticate the packages:
curl -fsSL https://www.mongodb.org/static/pgp/server-8.0.asc | \sudo gpg -o /usr/share/keyrings/mongodb-server-8.0.gpg --dearmor
Explanation:
This command downloads the MongoDB GPG key and stores it securely in your system’s keyring. This key is essential to verify the authenticity of the MongoDB packages you install.
Step 3: Create MongoDB List File for Ubuntu 22.04 (Jammy)
Run the following command to add the MongoDB repository to your sources list:
echo "deb [ arch=amd64,arm64 signed-by=/usr/share/keyrings/mongodb-server-8.0.gpg ] https://repo.mongodb.org/apt/ubuntu jammy/mongodb-org/8.0 multiverse" | sudo tee /etc/apt/sources.list.d/mongodb-org-8.0.list
Explanation:
This step tells your system where to fetch MongoDB packages from during installation.
Step 4: Reload the Package Database
Update the package database to ensure your system recognizes the newly added MongoDB repository:
sudo apt-get update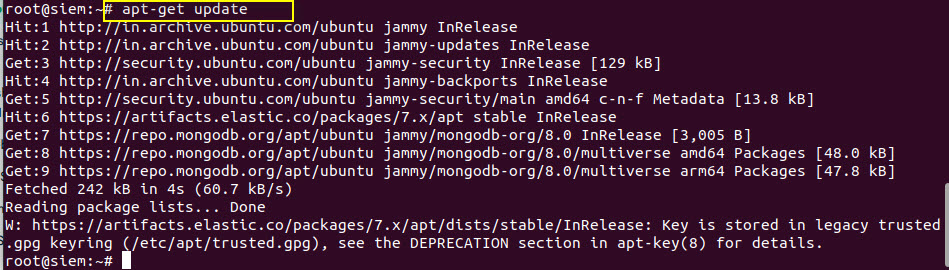
Step 5: Install MongoDB Community Server
Now that the setup is complete, install MongoDB using:
sudo apt-get install -y mongodb-org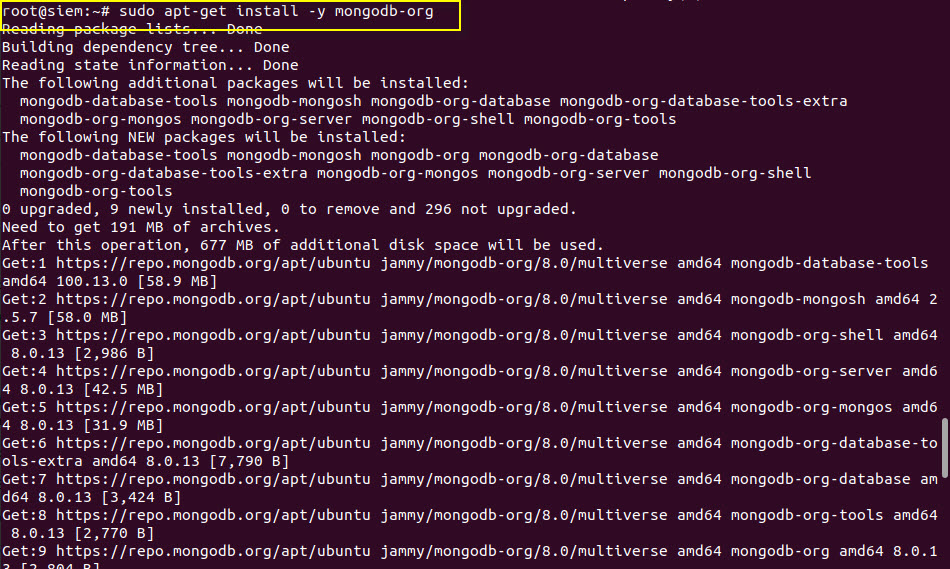
This will install all the necessary components, including mongod (MongoDB server) and mongosh (MongoDB shell).
Step 6: Start and Manage MongoDB Service
After installation, MongoDB does not start automatically. You’ll need to start it manually using the following command:
sudo systemctl start mongod![]()
If the command runs without any error, MongoDB has started successfully.
Step 7: Verify MongoDB Service Status
To check if MongoDB is running correctly:
sudo systemctl status mongod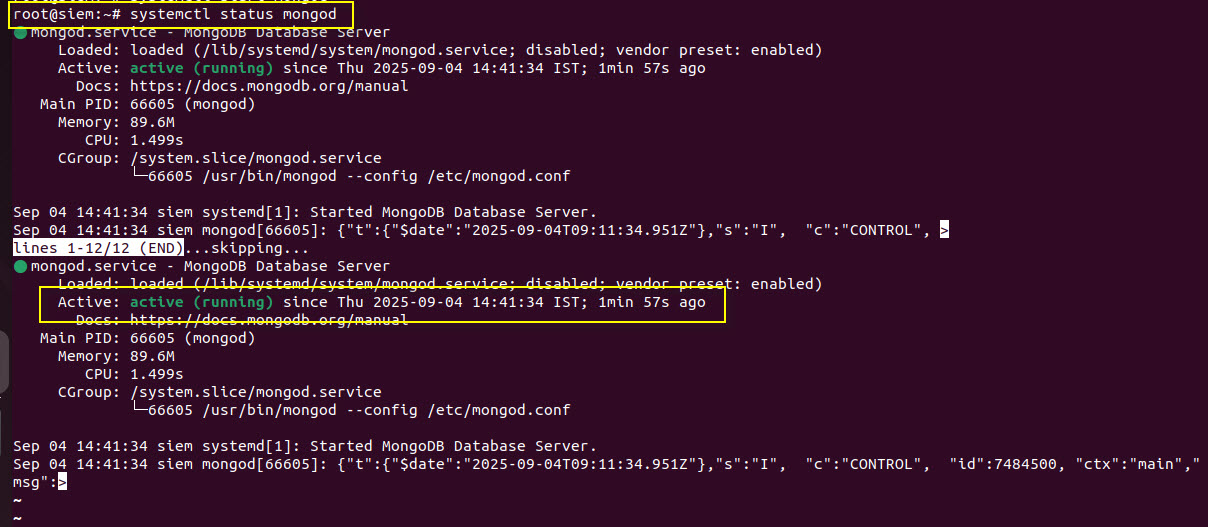
You should see an output showing that the service is active (running).
Optional Commands to Manage MongoDB
You can manage the MongoDB service using systemctl:
- Enable MongoDB on system boot:
sudo systemctl enable mongod
- Stop MongoDB:
sudo systemctl stop mongod![]()
- Restart MongoDB:
sudo systemctl restart mongod
Bonus: Identify Init System
Not sure which init system your system uses? Run:
ps --no-headers -o comm 1
If it returns systemd, it means your system uses the systemd init system — which works seamlessly with systemctl commands.
Step 8: Start a MongoDB Shell Session
To interact with your MongoDB instance, open the shell:
mongosh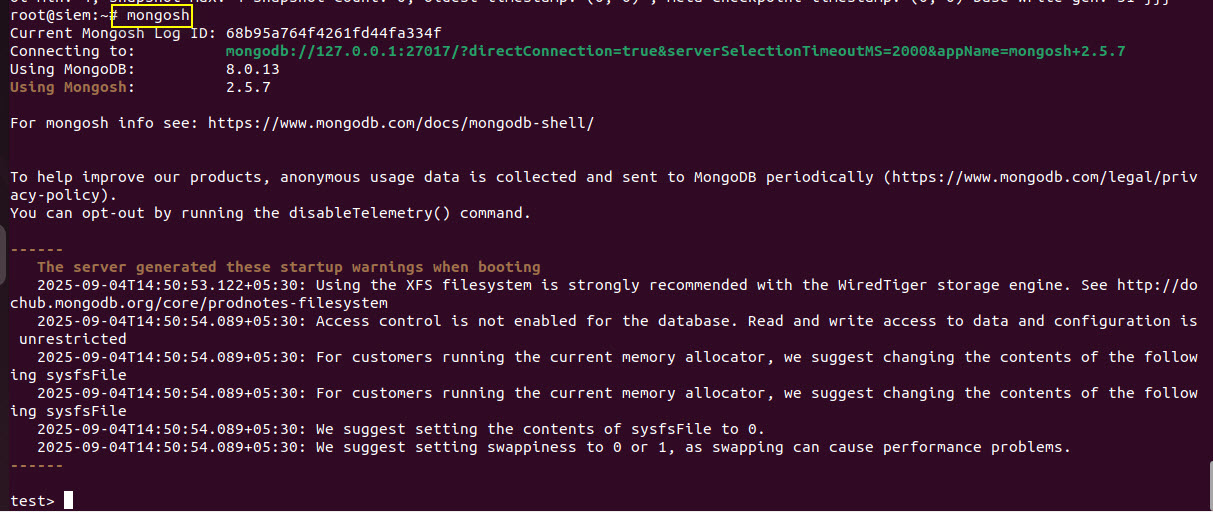
If everything is set up correctly, you’ll enter the MongoDB shell where you can start creating databases, collections, and performing queries.
Installing MongoDB 8.0 on Ubuntu 22.04 Desktop is a straightforward process when following the correct steps. From checking your OS version to starting a MongoDB shell session, this guide walks you through the full installation process.
With MongoDB up and running, you’re ready to start building robust and scalable applications. Whether you’re a backend developer, data analyst, or system administrator, MongoDB is a reliable choice for handling large volumes of structured or semi-structured data.
Quick Summary
| Step | Command |
|---|---|
| Check OS Version | cat /etc/lsb-release |
| Install Required Tools | sudo apt-get install gnupg curl |
| Import GPG Key | `curl -fsSL https://… |
| Add Repo | `echo “deb …” |
| Update Packages | sudo apt-get update |
| Install MongoDB | sudo apt-get install -y mongodb-org |
| Start MongoDB | sudo systemctl start mongod |
| Enable on Boot | sudo systemctl enable mongod |
| Open Mongo Shell | mongosh |